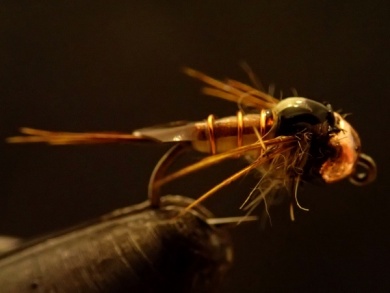
Step 1
Materials.
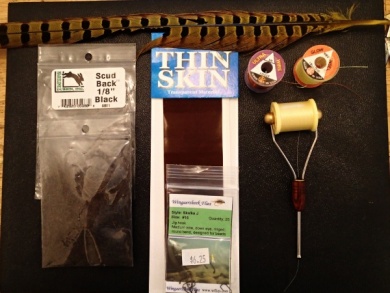
Step 2
Put an appropriately sized slotted copper bead on a jig hook and tie in a tail of a few PT strands with #14 pale yellow thread. You will need the bulk, so don't trim the butt ends of the PT until you've wrapped back to the bead.

Step 3
Slip a length of BR Amber Ultra Wire into the slot on the bead and wrap back to the tail.
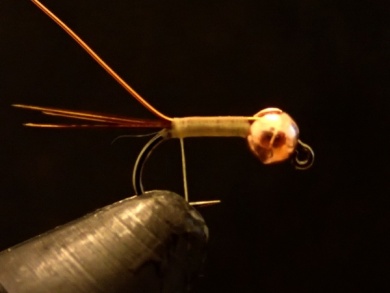
Step 4
Build a carrot shaped tapered thread body and leave the thread just above the tail.

Step 5
Cut a piece of brown Thin Skin about the width of the body into a point.
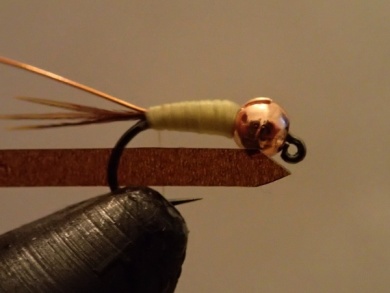
Step 6
Extend the pointed end of the Thin Skin a bit beyond the body and make two thread wraps directly on top of one another to secure it. Touch a little glue to the thread wraps to help keep things in place.

Step 7
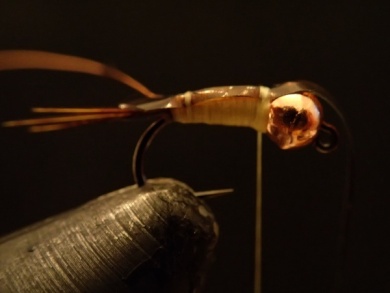
Pull the Thin Skin strip toward the rear of the fly being careful not to change its positioning, and work the thread around to the front of the Thin Skin so you can wrap up to the bead over the the bare thread body. Once the thread is behind the bead, put a small bit of glue on the bottom of the Thin Skin, pull the Thin Skin against the back of the fly and wrap it down behind the bead. Once a securing wrap or two is made behind the bead, you can pull the Thin Skin tight against View more...
Step 8
Rib with the wire, tie it down and trim off the excess.

Step 9
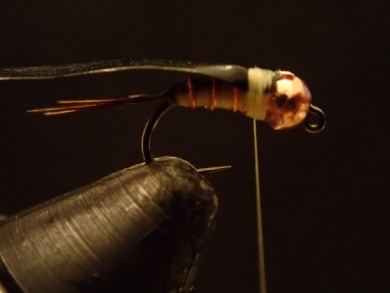
Center a piece of yellow Glow Tinsel on the back and tie it down to the rear of the thorax.

Step 10
Do the same with a piece of 1/8th black Scud Back.
Step 11
Dub a bit of grey squirrel as the thorax leaving a bit of room behind the bead to tie in the legs.

Step 12
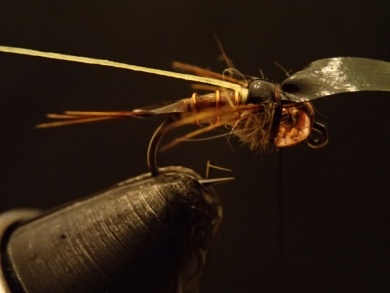
Tie in a few PT strands on both sides as legs, trim the butt ends and add just a touch of dubbing to cover the thread wraps securing the legs.

Step 13
Run a black marker over the thread so that it will blend in with the wing case, pull the Scud back over the Thorax and tie it down. Repeat with the Glow Tinsel and whip finish. Coat the wing case with Hard as Nails or a thin UV resin and...
Step 14
Done.
