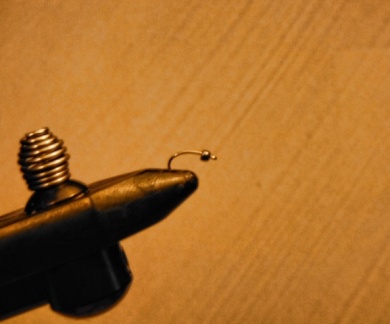
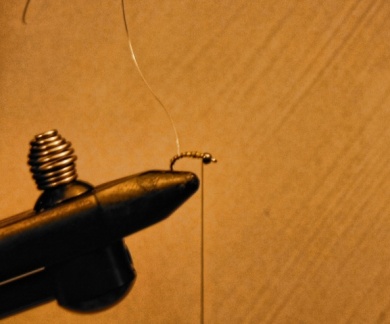
Step 1
1a: First start by crushing the barb if applicable and putting the bead on to the hook. Fasten the hook in your vise and be mindful to not allow the hook tip to be exposed.
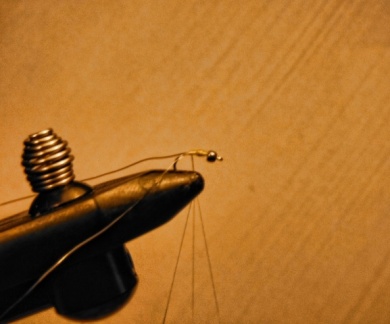
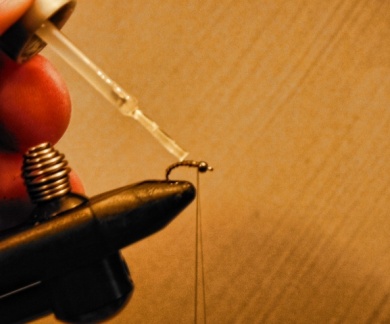
Step 2
2a: Tie in the thread behind the bead and add a few wraps behind the bead to bulk the thorax of the fly. For tying midges; I like to use fine thread to help keep the fly proportionate in size. I am using 6/0 light olive UNI-thread and tying on a size 16 emerger (Offset) hook. 2a*: Note the gap position of the thread behind the bead. I prefer to leave a slight gap behind the bead to allow for the final tying steps of the fly and maintaining perspective. By doing so you will be able to tie in t View more...
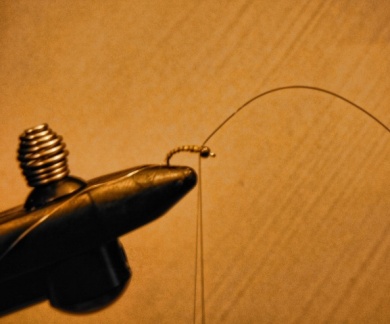
Step 3
3a: Slowly wrap the thread down the shank of the hook and maintaining a tight profile with the wiring to the hook shank.3b: Wrap the thread about 1/3 down the hook gape.3c: Slowly wrap the thread back up the shank of the hook add extra wraps to create the tapered look of amidge body.3d: Critical: tie in a whip-finish behind the bead and let your bodkin hang.
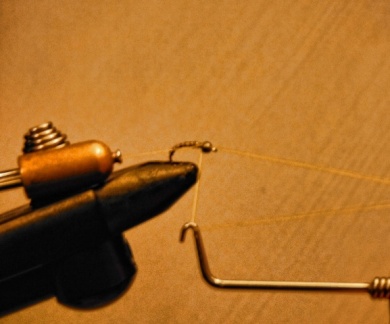
Step 4
4a: Next; start wrapping the brown wire forward to create ribbing. Add a few tight wraps behind the bead and busy the wire free or cut.
Step 5
5a: Then; wrap the silver wire forward; but, pull it up next to the top of each brown wire wraps. This is the juxtapose process and is key in creating a segmented look of the midge.
Step 6
6a: Add a few tight wraps behind the bead and busy the wire free or cut.6b: Apply some cement to the body.
Step 7
7a: Whip-finish behind the bead and let your bodkin hang.
Step 8
8a: Cut a 3” segment of antron and tie it in behind the bead with a figure 8 method.
Step 9
8b: [Picture Reference]

Step 10
10a: Apply some cement to the thread and whip-finish the fly and cut the thread.

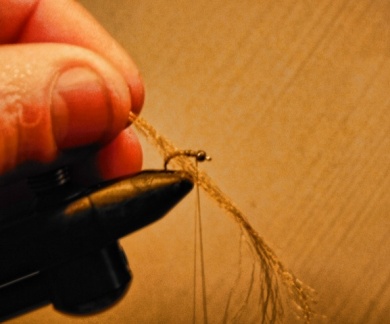
Step 11
11a: Next; pull the antron segments upward and trim closely to the fly body.11b: The end results should look like small wing buds.